Unsung gems: Cilantro and Coriander
/
Cilantro is one of the first plants up in Spring and appropriate as the subject for our May article. They flower quickly, so you need to harvest the leaves as soon as they appear and enjoy their fresh flavor in foods right away.
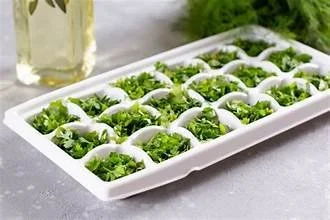
Dried cilantro leaves are not as tasty, so to preserve that fresh taste, freeze them in ice cubes. Then, in the dead of winter, melt a cilantro ice cube into your favorite dish.
For those who don’t like the taste of cilantro, the seeds have a warm, subtle flavor. Known as coriander, the cilantro seed also has a greater nutritional impact and is used dried, so is easier to use in home remedies.
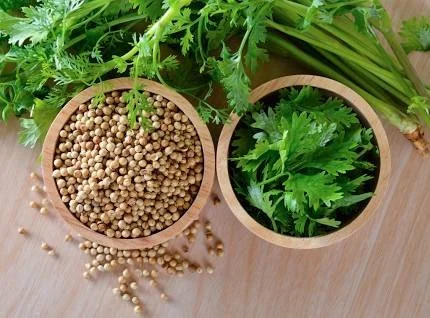
Stop cutting the flowers when you are done harvesting the leaves and let the plant go to seed. When the seeds appear, harvest by drawing your hand along the stem. Most of the seeds will be in your hand and others will fall to the ground, which will provide next year’s plants. After they go to seed, the plants are done, so pull them out and cover with mulch.
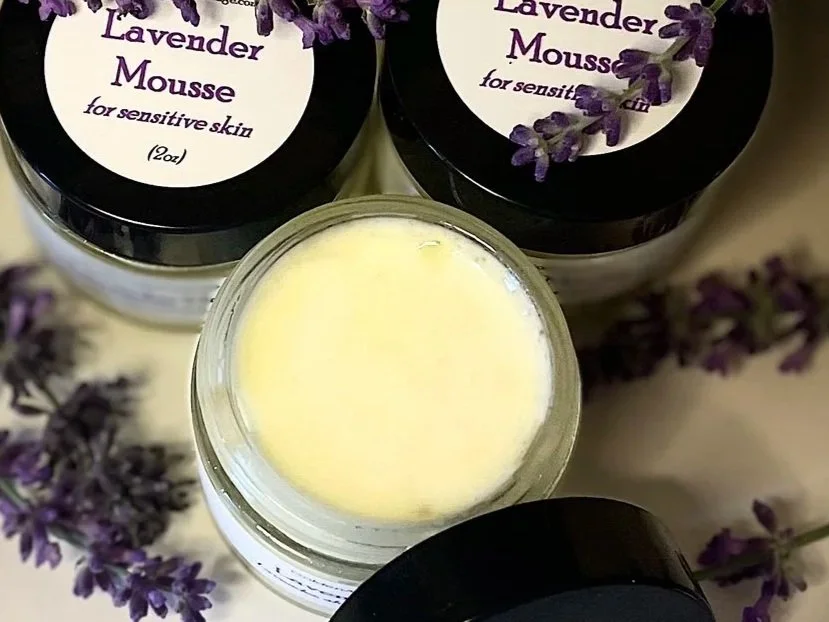
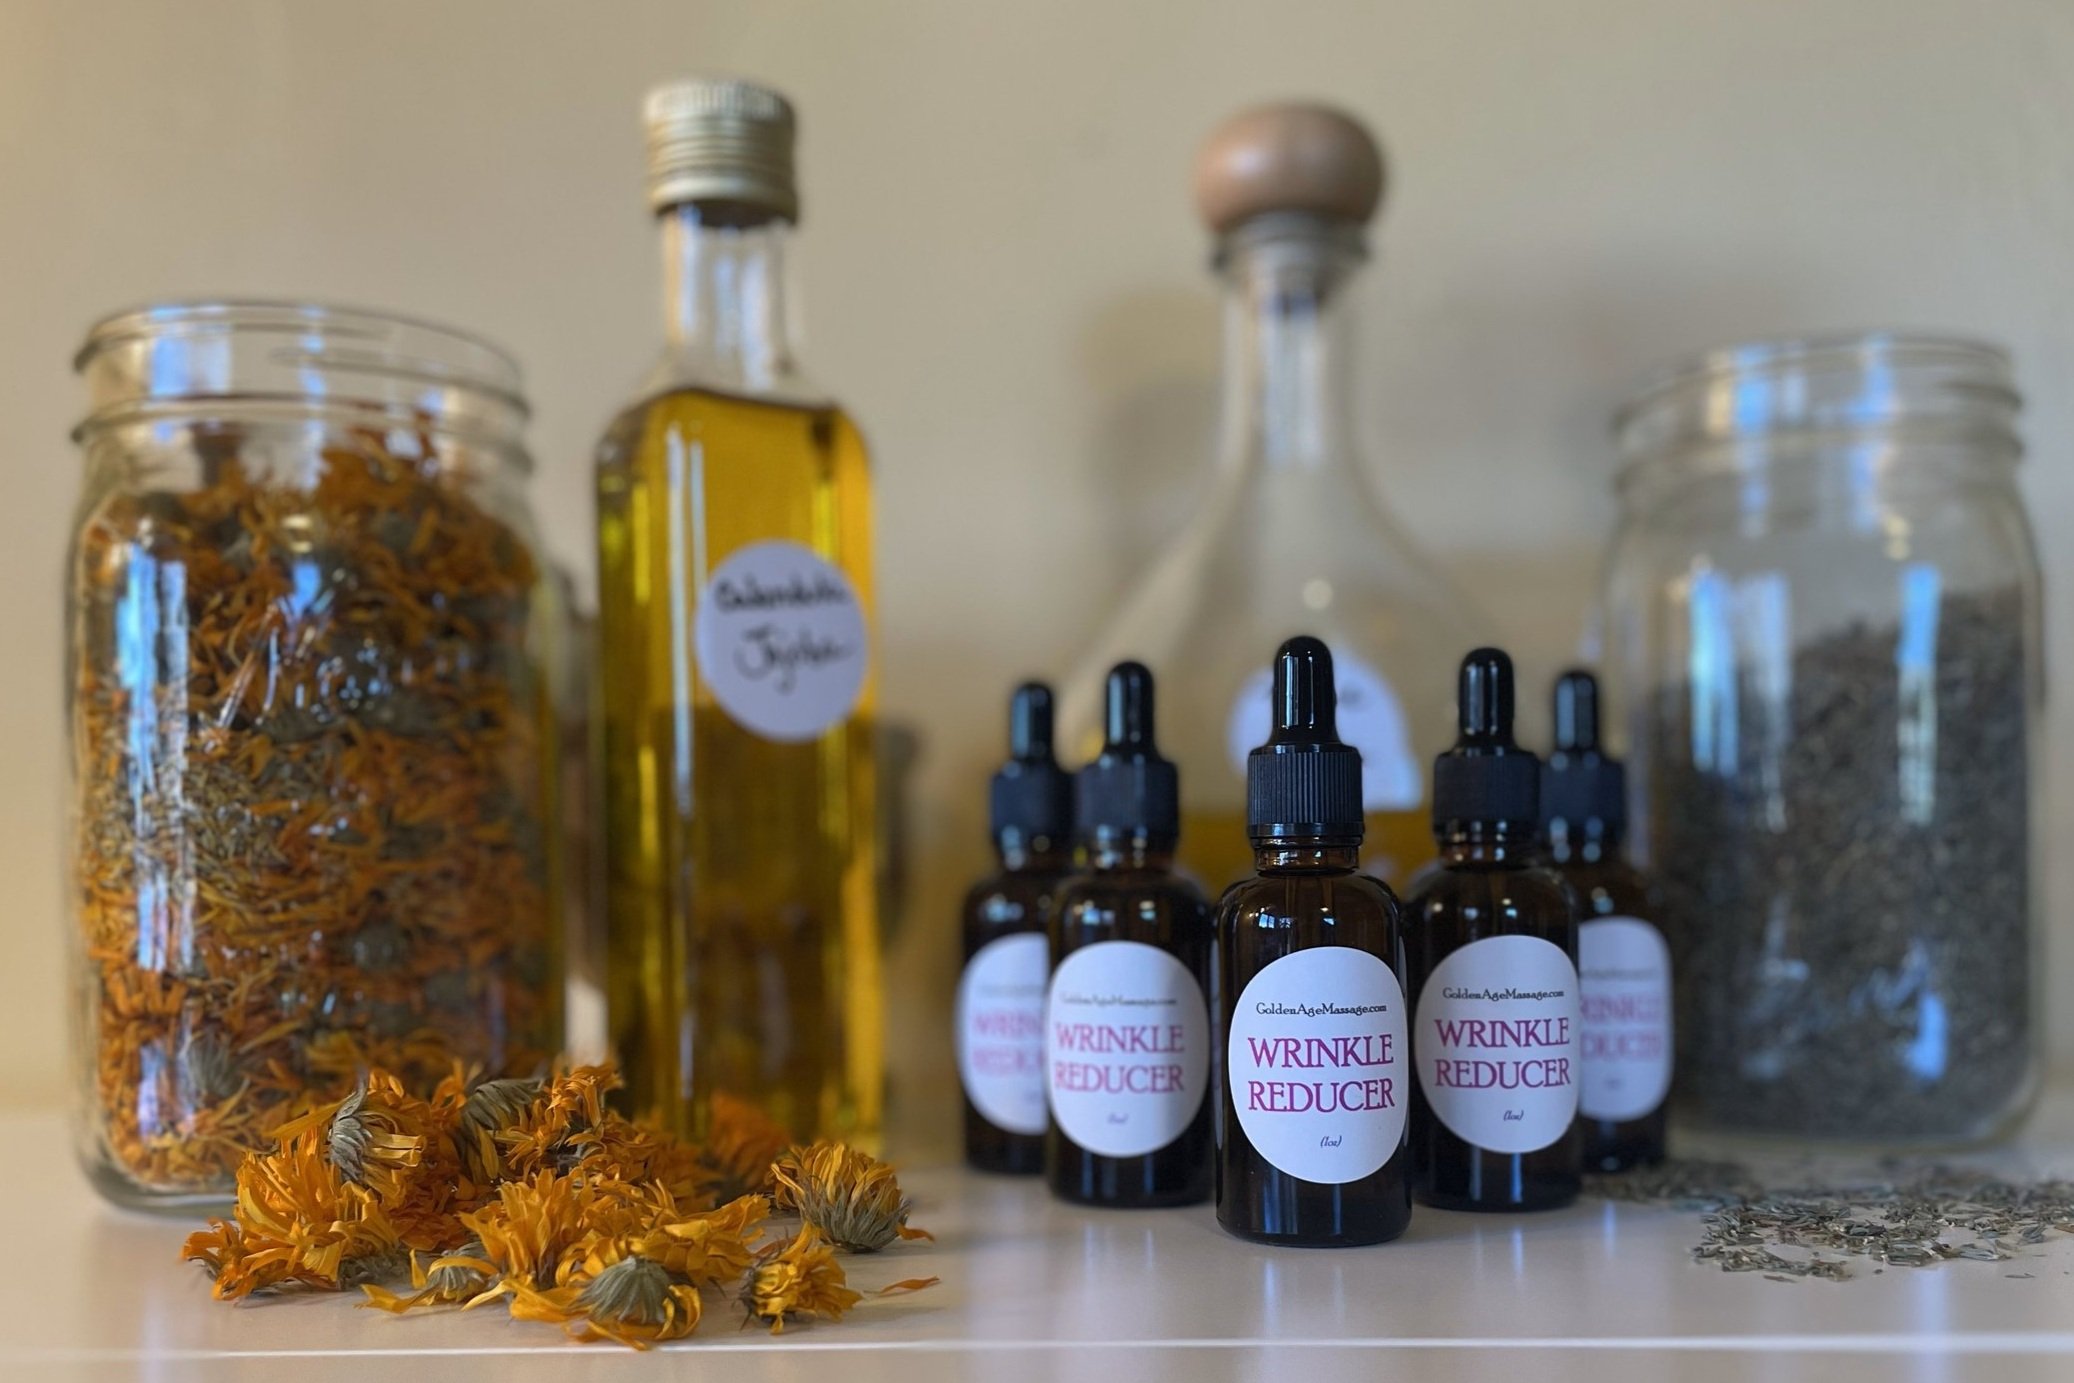
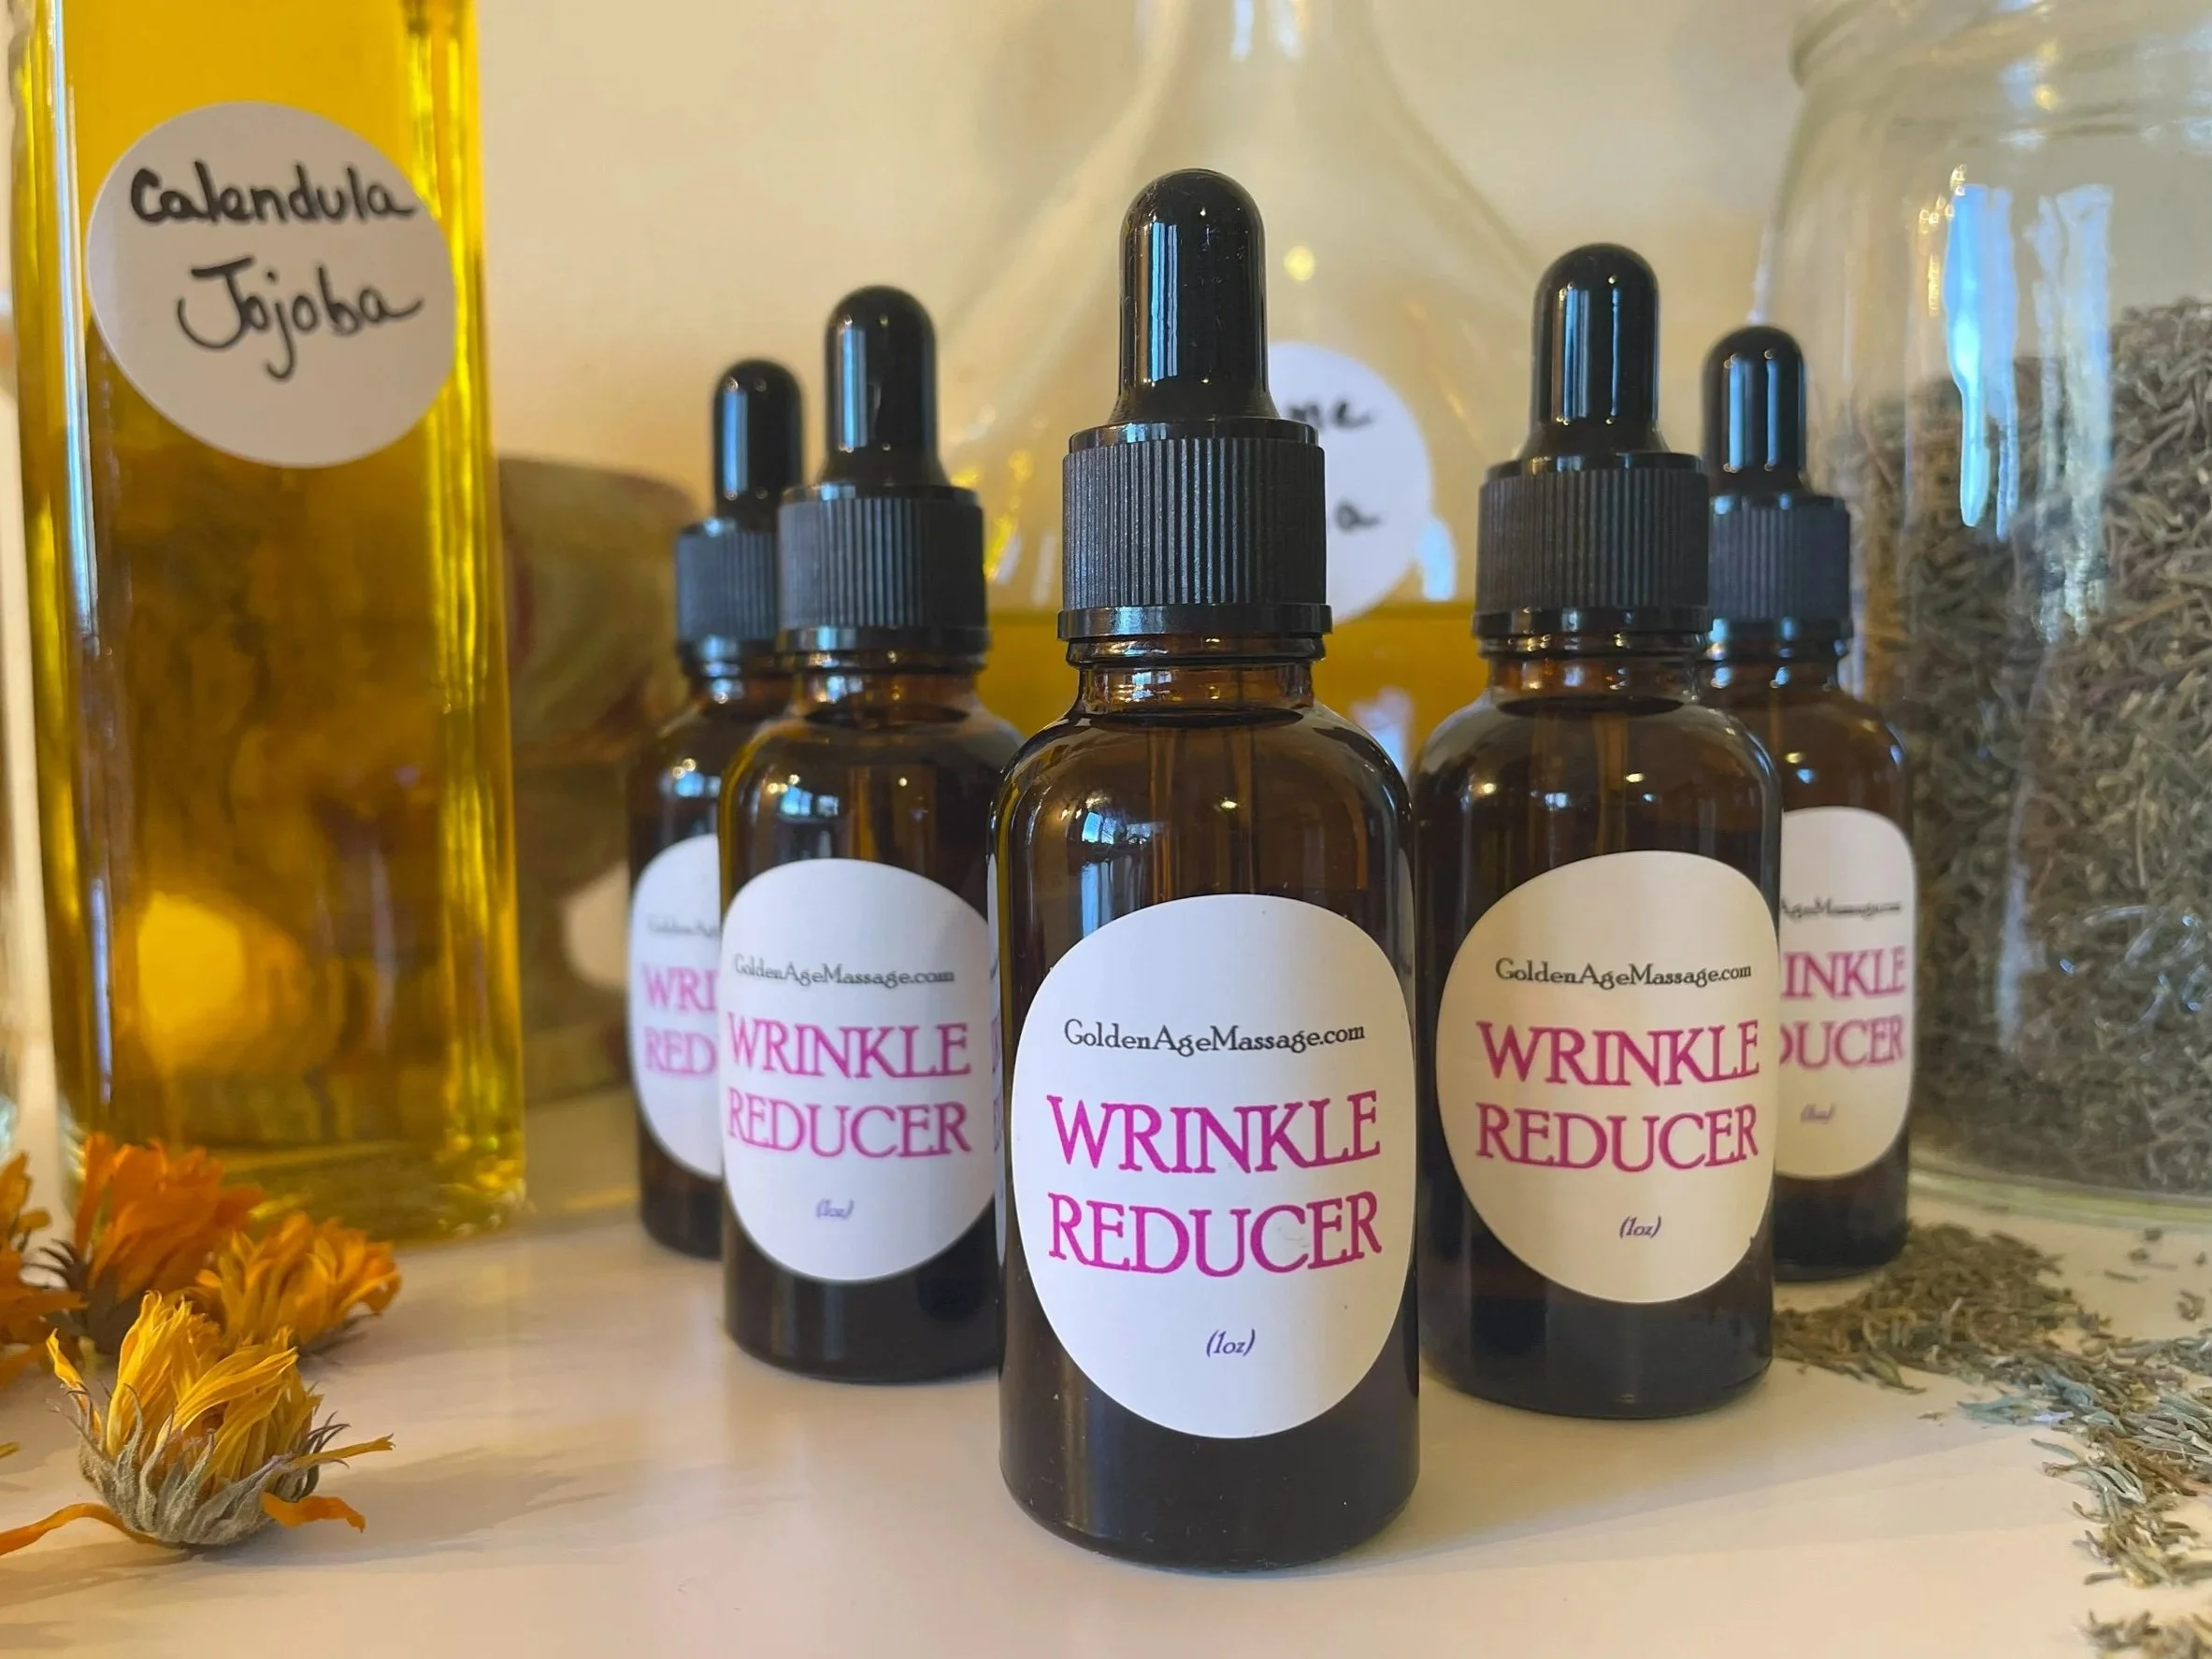
Topically, coriander helps boost collagen production with its high levels of vitamins A and C. I infuse coriander into jojoba oil and add it to my wrinkle reducer oil.
Coriander also has vitamin K, folate, potassium, and maganese which contribute to its anti-inflammatory and antioxident properties. Include it as part of a daily tincture* for system-wide benefits.
*See earlier articles on infusing oils and tinctures.