Roses Are the Key to Beautiful Skin
/When we moved into our house six years ago, we had several healthy rose bushes next to the front door, which were beautiful and I was grateful to the previous owner for planting them. Regarding them only as a beautiful flower, I never considered using them for my topical herbal remedies when I planted my herb gardens a couple years later. Now I know better.
I have since learned that rose petals and rose hips offer an abundance of benefits for skin when used as topical agents. For one thing, both are antioxidants which neutralize free radicals to slow aging of skin tissues. They are also anti-inflammatories, combating redness, pain, itching and dryness.
Rose hips are well-known for their high vitamin C content. In fact, rose hips have more vitamin C by weight than any other source. Vitamin C as a topical is absorbed through the skin to induce collagen production, the main structural component of the skin. Collagen decreases as we age, causing skin to lose its elasticity and increase the formation of wrinkles. Vitamin C also brightens darker patches of skin, leading to a more even skin tone. An interesting fact about topical vitamin C is that if it is exposed to light, it oxidizes into erythrulose, which is a substance used to darken skin in tanning products.
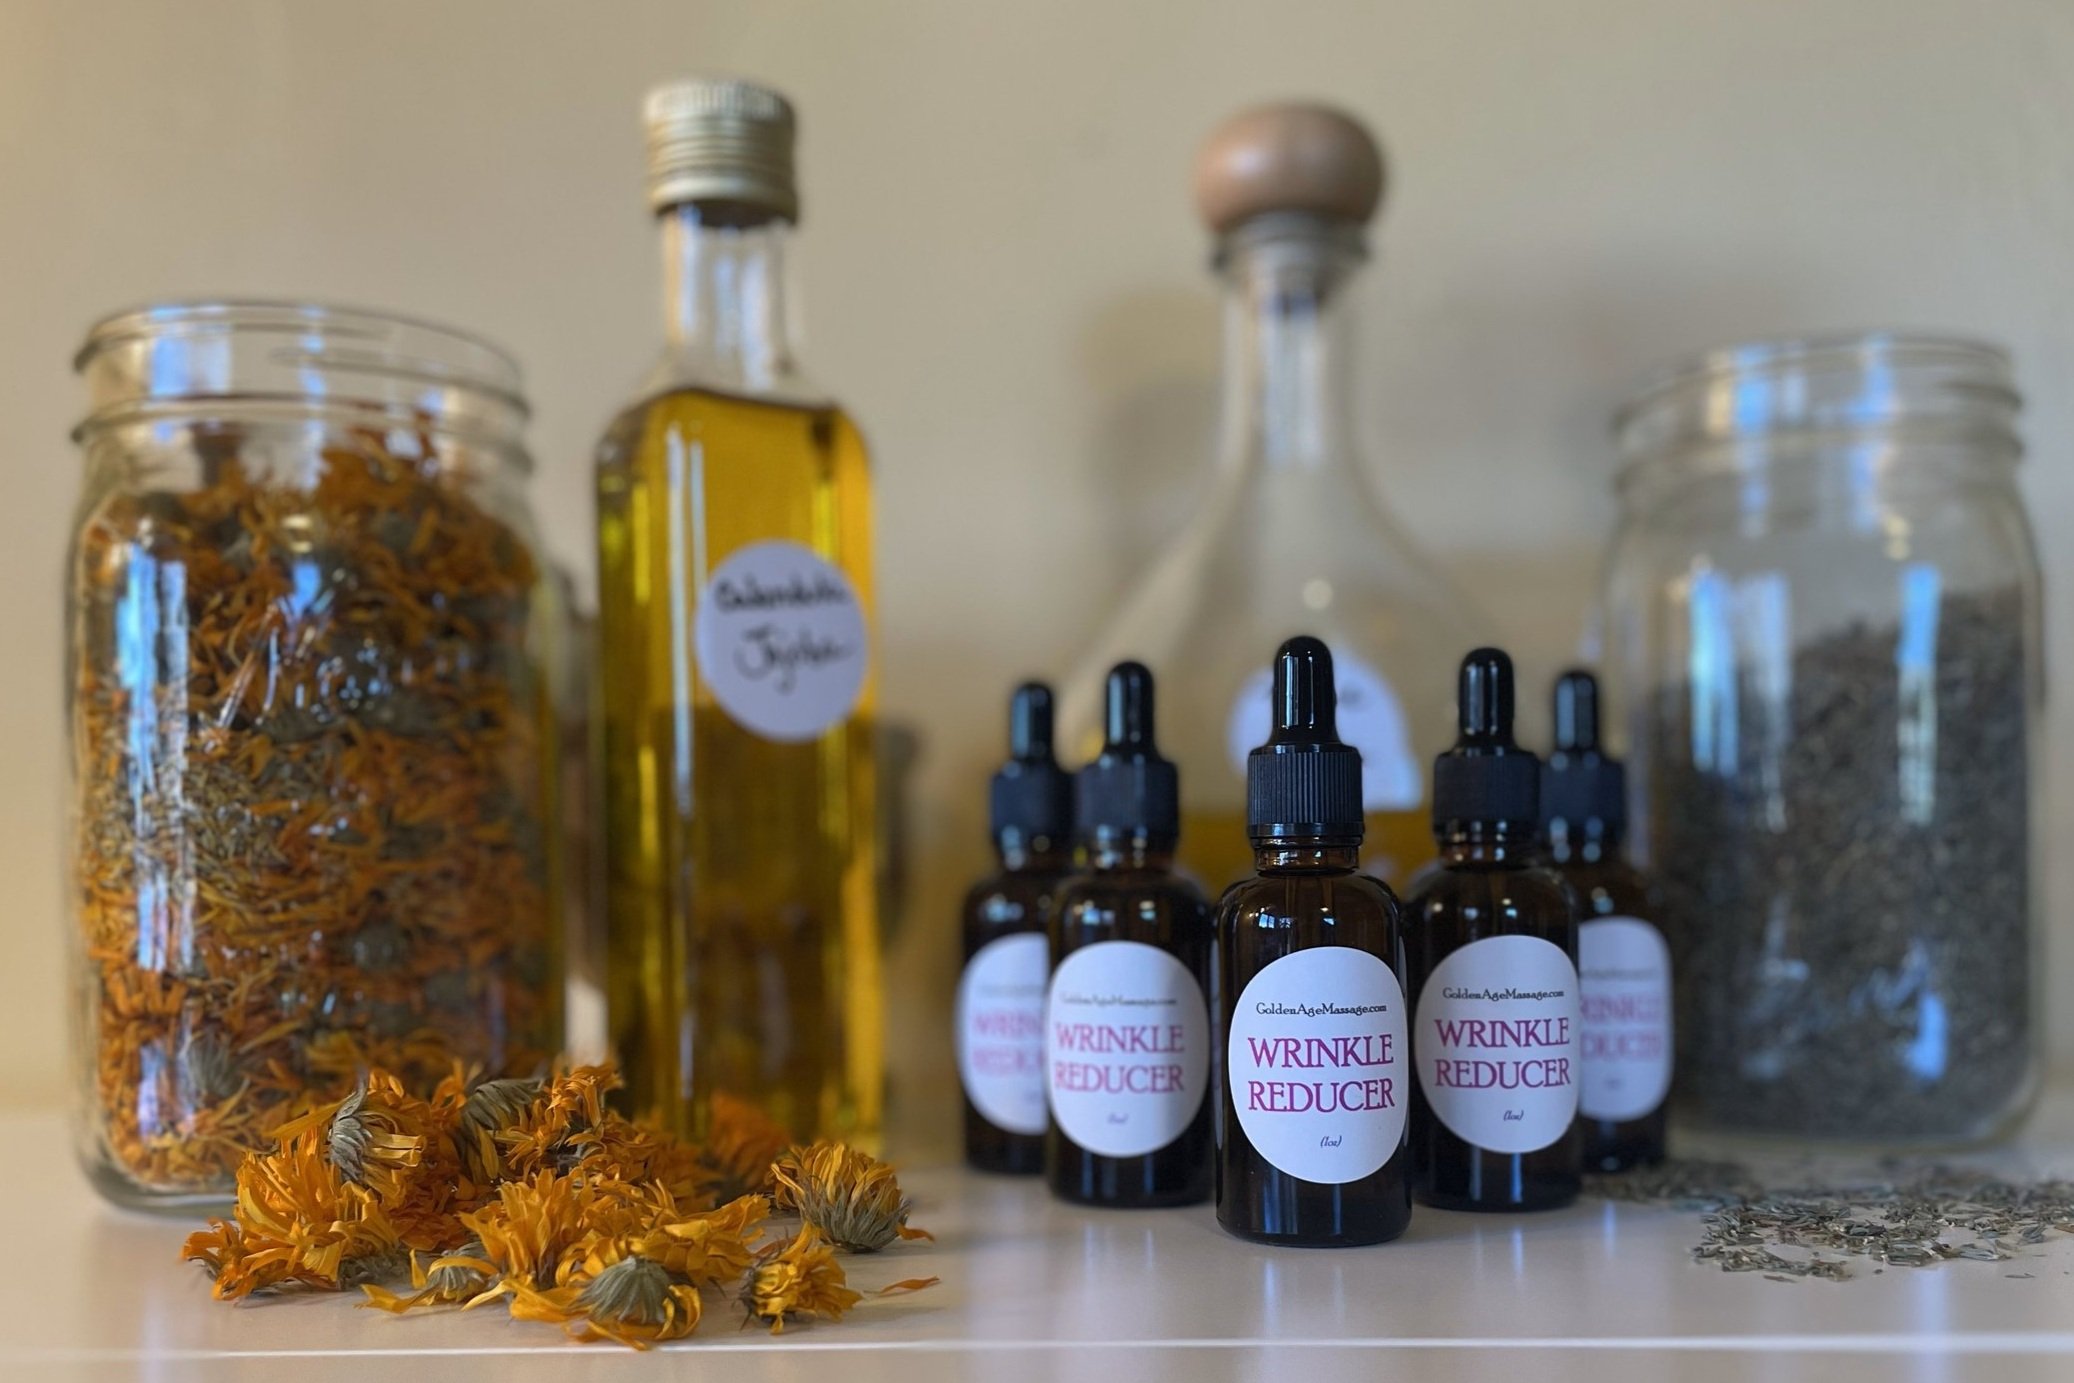
Due to their high vitamin C levels, rose hips are the perfect candidates to be infused into jojoba oil and included in our Wrinkle Reducer, which consists of herbs high in vitamins A and C, such as thyme, lavender, and calendula. Jojoba is the best oil for all skin types because it has a molecular structure very close to our own skin’s sebum and is readily absorbed.
Rose petals have both emollient and astringent qualities, giving them the ability to impart softness to skin while tightening and toning. The petals strengthen the skin’s natural moisture barrier and also provide vitamins C and A, another collagen booster.
Rose petals are perfectly used in a natural toner due to their astringent properties. The fact that they are emollients makes a toner that also protects the skin’s moisture balance. Collagen-boosting vitamins A and C are an added benefit. I make Baby Skin by steeping rose petals in hot water, adding some witch hazel, also an astringent, for a preservative, then adding a drop of rose damascena essential oil for scent. I also infuse rose petals in jojoba oil and include the rose petal oil in Wrinkle Reducer.
Rose hips and petals are beneficial in a drinkable tea for the same reasons as above and then some. The petals’ astringent properties help strengthen the inner linings of the digestive system, while rose hips contain quercetin, which reduces plaque in arteries, and catechins that lower cholesterol and blood sugar.


